Texas Industrial District
Overview:
I got my inspiration for the layout from
Byron Henderson's website. The article, San Jose Shelf Switcher: Small N scale switcher built from on-hand components is
fun to run, gave the much needed push to get something to run in my
apartment. The trackplan is basically the same, but
adjusted to fit the track I had on-hand. I figured that the
layout will a general representation of a industrial branch that
many railroads operate in most moderate sized towns or cities.
Except mine will be operated by the SP. I also changed some of the
industries to represent ones that I have seen. The links on the
right will take to pics and comments of the differnt building
phases.
The Plan: click for a larger view

The turnouts are Mirco Engineering code 55 #6s and the track is Atlas code 55 flex track.
Benchwork
I wanted my benchwork to be light as possible, but strong enough
to be moved often. Being a civil engineer, I approached this
like a bridge promblem. After some studing and testing I determined
that I was going to use 1"x2" demisional lumber
and 1/4" thick foam core board for the top. I would have used
1/2" plywood ripped into 2" strips because they be straighter but
due the fact that I don't have a table saw and the nearest Home
Depot is an hour away, I stuck with the 1"x2"s. It did take me
awhile to go thourgh the pile of 1"x2"s to find the straightest, but
in the end it was worth it.
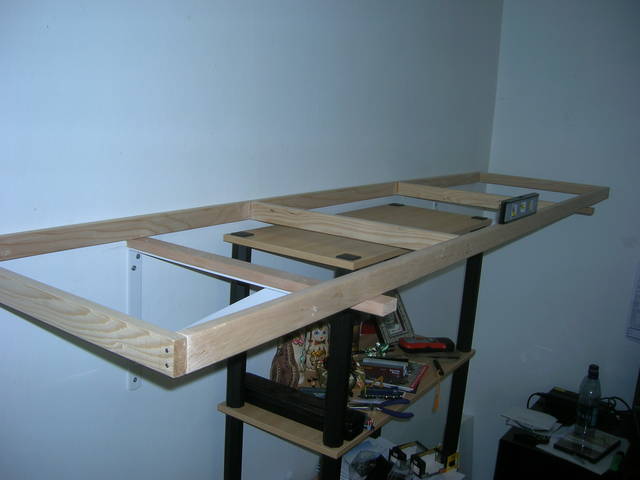
Since being a poor college student I did not have the funds to
buy power tools, so a used a miter box and saw to cut the lumber and
nails & wood glue to assemble the frame.


After I built the frame I found a freind have a drill i could use
and I drilled holes in the cross braces. This not only made the
frame lighter, but it also allows me to run wires from end to
end.

I bought two shelf brackets and then screwed a piece of 1"x2" on
top, so the bracket could support the layout.
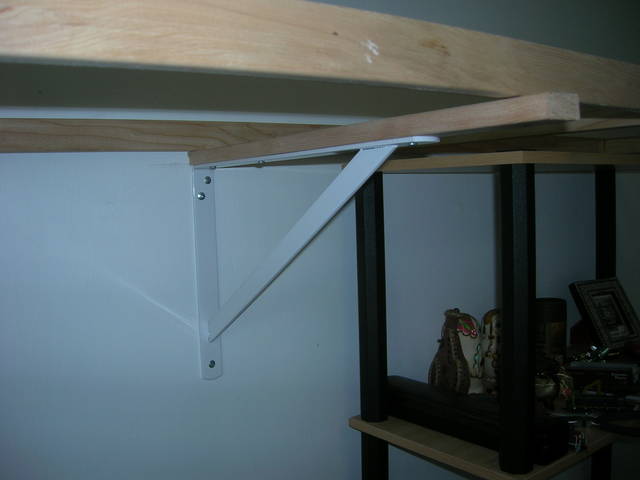
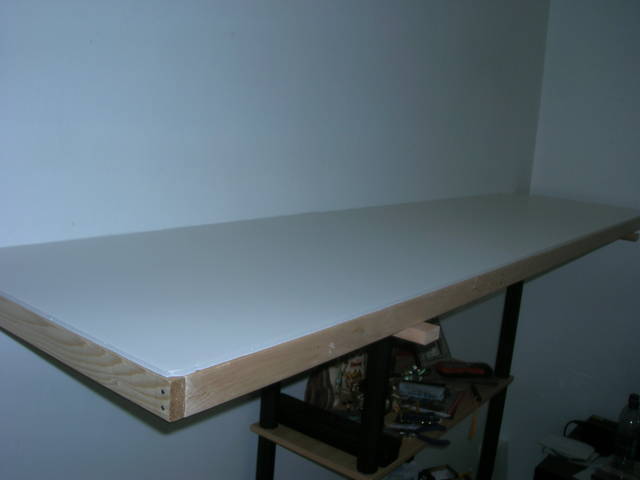
After hanging the brackets and setting the frame on top, I then
layed a a sheet of foam core board and traced the out line of the
frame onto the board. Then I used a utility knife and cut the sheet
to fit. I glued the cut sheet to the frame with Elmer's all purpose
glue.
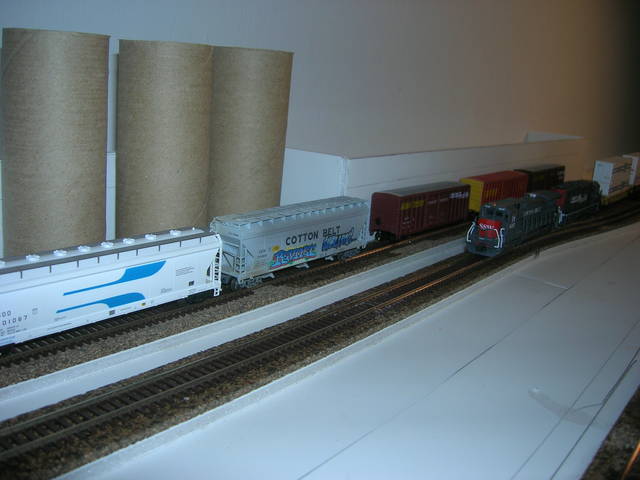
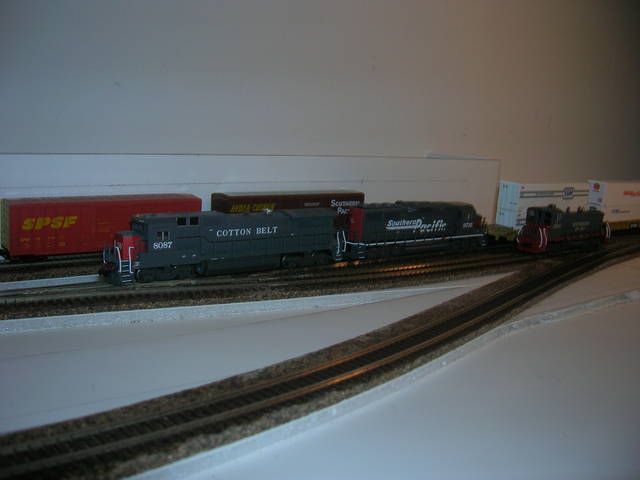
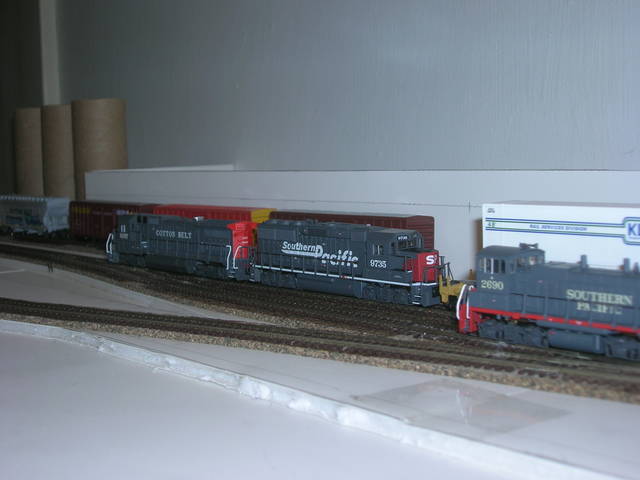
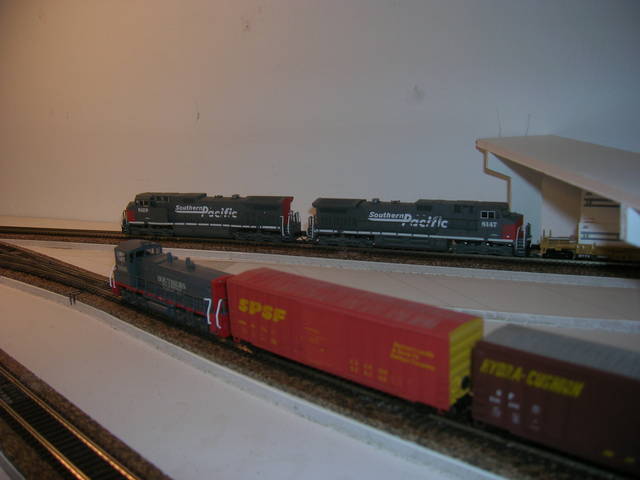
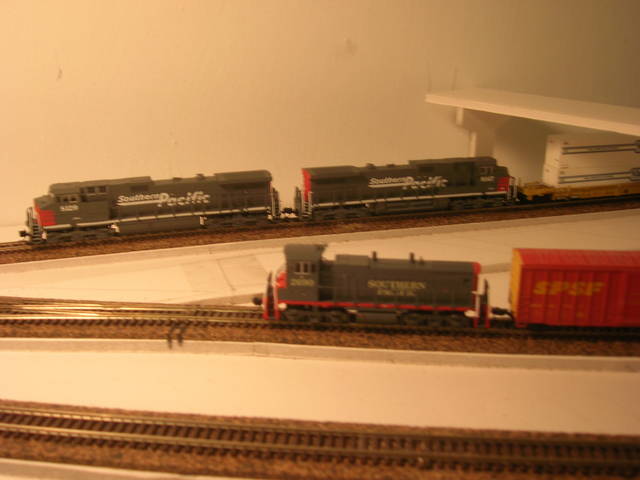
Final Pics Before Dismantling
Before I had to dismantle the layout for a move I took a few last
pics. The layout was operational and had mockups of the structures.
|