|
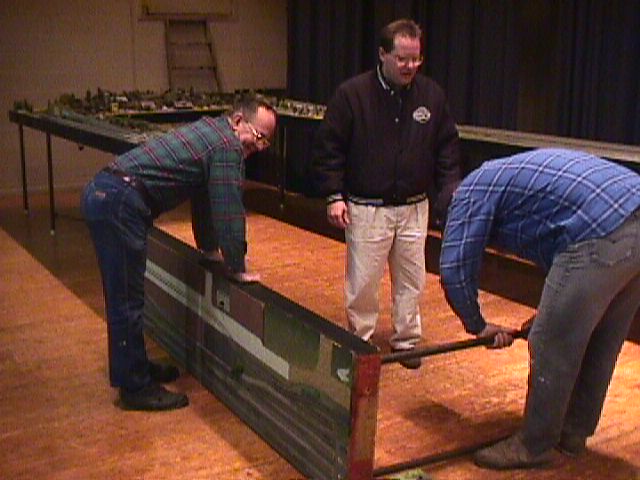
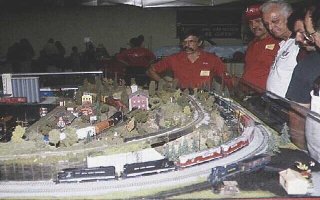
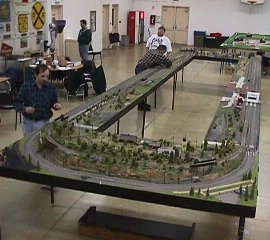
The layout has eight sections. The two ends are four feet by eight feet, and the six
middle pieces are two feet by eight feet. The sections only go together one way, and
are not compatible with any national standard.
|

|
The ends each have four steel pipe legs, which thread into flanges mounted to the
bottom of the layout. Four of the middles have two legs each, with the other end being
supported by the bolts which attach it to the adjoining section. The other two middles
have no legs and are supported solely by the bolts.
|
|
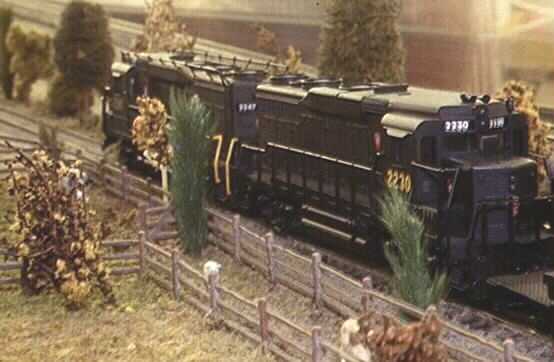
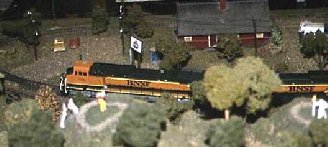
The mainline is just three ovals around the outer edge of the layout, with a hill on the
inner track at one end. The track is Tru-Scale Readi-track, except on the hill where the
ties were planed off the Tru-Scale and flex track laid. The curve radii are 36",
34", and 32". On one side, there is a full set of crossovers to tie the mainlines
together and into the branch line.
|
|
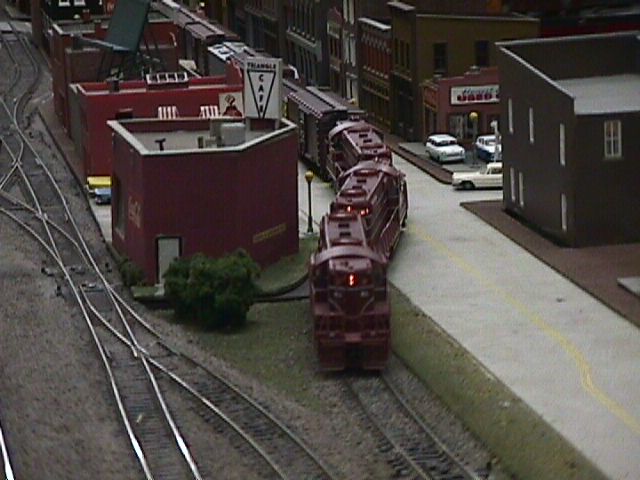
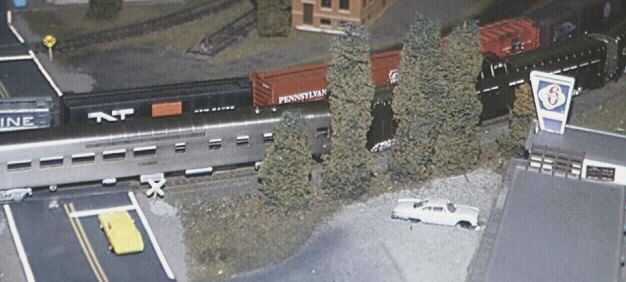
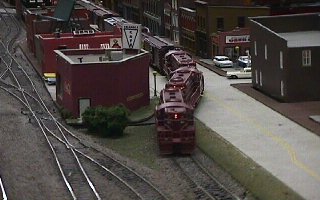
The branch line is also a rough oval, with various business sidings and a yard. It even has
street trackage. The track is ordinary flex track laid directly on the plywood base. All
switches on the layout are Peco, which are spring-loaded to stay whichever way they are
set. They are operated by hand.
|
|
At one end, a trolley loop crosses the branch at two diamonds and ducks under the main line
hill. This track can operate from either the overhead wire or regular 2-rail. The operator
must be careful to avoid collisions with the train on the branch line.
|

|
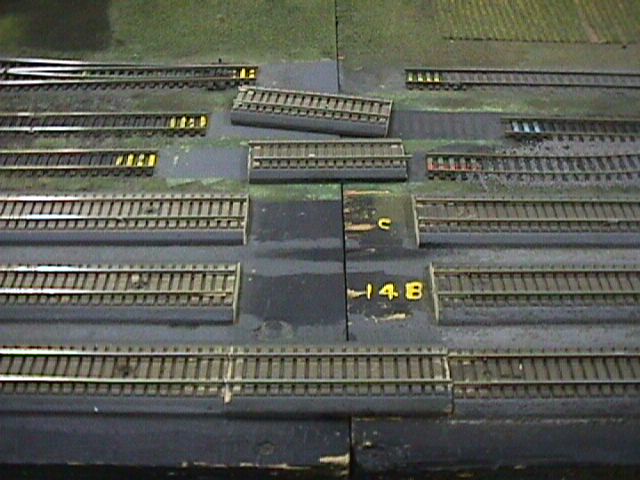
Where the layout sections meet, there are gaps in the track, with special pieces that fit
into them. These connectors are held in place only by standard rail joiners. There are
electrical jumpers underneath the layout so we don't have to depend on continuity through
the connectors.
|
|
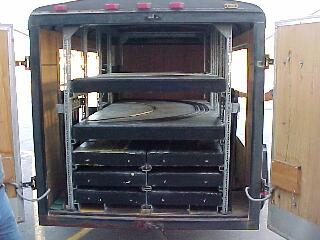
When the day is done, all the layout sections, the legs, and the special metal boxes that
hold the buildings, all fit into a trailer. The club bought it new and outfitted it to
hold the portable layout. From the time the first building goes into its box, we can be
on the road in about an hour. Seeting up the layout for a show takes only a little longer.
|
|
The portable layout was first built in the late 1970s with only two middle sections, and,
like any layout, has expanded and changed over the years. The inner main was originally a
stub-ended U instead of climbing the hill, and at one
time had an automatic reversing circuit for a commuter train. The corner that now has a
coal pit was for several years a mountain, with a tunnel for the middle and outer mains.
The branch line was for years also a U until it was
finally put across the trolley, and for a long time it had no connection to the main.
The Plexiglass panels around the outside are vital for preventing little (and not so little)
hands touching the moving trains and causing derailments. It also contains major wrecks
(which, fortunately, are few and far between), keeping cherished models from hitting the
floor. This function is shared by the smaller Lexan panels where tracks run close to inside
edges.
The Motel 6 was added because it's the lodging of choice for our out of town shows. Despite
the Plexiglass barrier, the motel's pool has a worn spot where people insist on touching
it to see if the water is real.
To see out portable layout in person, check the show schedule.
We don't do as many shows as in the past, but there are still about 8-10 per year.
|
|
|