This website has been archived from TrainWeb.org/wcng to TrainWeb.US/wcng.
This website has been archived from TrainWeb.org/wcng to TrainWeb.US/wcng.
| Now with the basic rivet patteren
established, and the basic details added, we begein the final phases of
the tender assembly. First we applied a primer coat to the tank.
Figure 31 Wonderful how a good coat of primer can make all the hardwork
seemily dissappear.
I decided to go ahead and finish the tender off completely at this point, so the back up light and all electronics were installed. No8 is equipped with battery RC; a throttle courtesy of Action RC and a 2 channel RC rig from Tower Hobbies. The reversing headlight is made from a cheap flashlight reflector and lense, a 14.4 v bulb and socket from Radio Shack, and a plumbing cap (yes I'm on a first name basis witht he people at the local hardare store now) The trucks are pretty much the stock items that come on the tender, just with some larger journal lid covers applied. I finished the whole thing off with gloss black spraypaint Figures 32,33 |
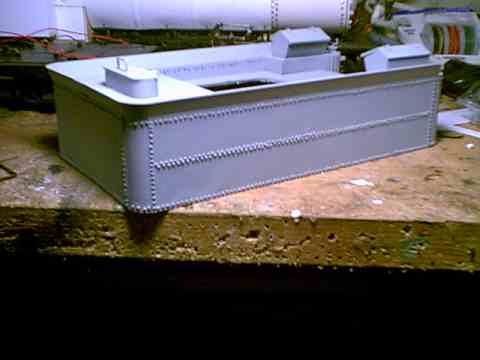
Fig 31 |
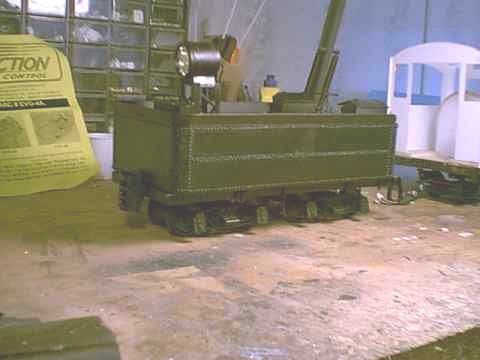
Fig 32 |
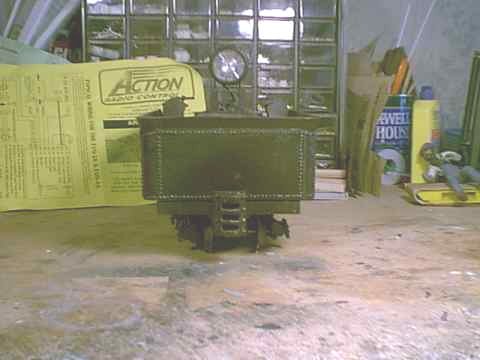
Fig 33 |
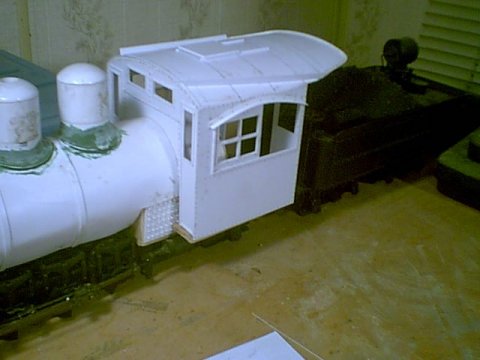
Fig 34 |
With the tender done, its time
to move on to the cab. The basic structure was constructed using
cardstock patterens and was fabricated from .040 styrene, a personal favorite
of mine. The cab details were fabrcated from various styrene shapes
and angles.Figure 34
The rivet pattern was laid out according to general practice, this time instead of drill ing a hole and inserting a sequin pin I decided to try a different meathod brough to my attention by Master Builder David "Fletch" Fletcher. This involves slicing off a thin section of styrene rod, the applying a small amout of styrene glue to the intended area, applying the styrene chunk, and then putting a small amout of the glue on top of the rivet to 'melt' it into a rounded top. With a primer coat applied Figure 35 the rivet detail really stands out. windows and interior were masked off as appropriate and the masking remained in place until the final coat of glass black was applied. Figure 36 |
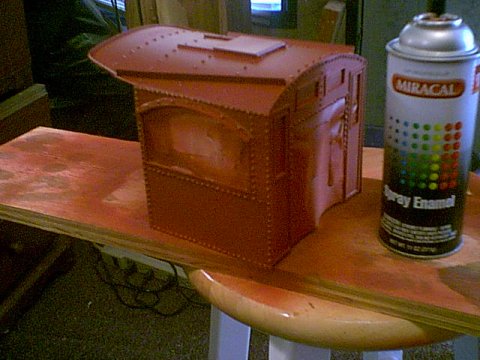
Fig 35 |
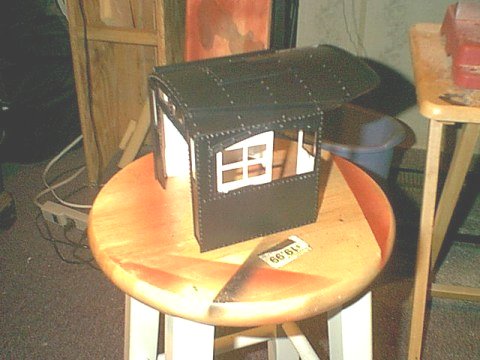
Fig 36 |