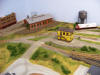
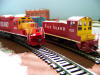
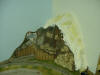
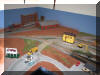
Photo Gallery
Click image to view then click back on your browser to return to this page
A journey of progress and lessons learned on the J&C Railroad through pictures.
Click for Video of Trains Running
 | |  |
 |  |  |
 |  |  |
 |  |  |
 |  |  |
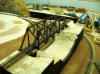
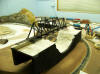
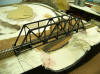
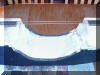
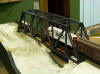 Grizzly Gulch Truss #6 2/5/09 | 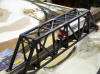 Grizzly Gulch Truss #5 2/5/09 | 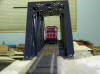 Grizzly Gulch Truss #4 2/5/09 |
 Grizzly Gulch Truss #3 2/5/09 | 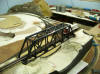 Grizzly Gulch Truss #2 2/5/09 | 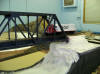 Grizzly Gulch Truss #1 2/5/09 |
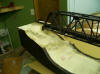
 Grizzly Gulch expansion #4 2/4/09
|  Grizzly Gulch expansion #3 2/7/09
|  Grizzly Gulch expansion #2 2/4/09
|
 Grizzly Gulch expansion #1 2/4/09
|  Grizzly Gulch Truss #1 2/4/09
| 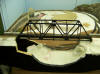 Grizzly Gulch Truss #2 2/4/09
|
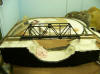
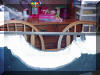
Grizzly Gulch Bridge #1 2/3/09
|  Grizzly Gulch Bridge #2 2/3/09
| 
Grizzly Gulch Bridge #3 2/3/09
|
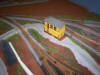
Grain Elevator #1 | 
Grain Elevator #2 | 
Interlocking Tower |
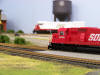
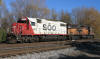
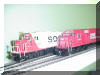
SOO U30C passing on the mainline
|  SOO SD60 refueling
| 
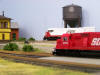
SOO U30C at the Water Tower Curve
|
 Roundhouse weathering #1
| 
Roundhouse weathering #2
|  Interlocking tower corner #1
|

Interlocking tower corner #2
| 
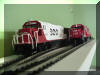
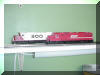
SOO U30C
|  Rock Island SD402 passing switcher
|
 Mt. Dew #1 | 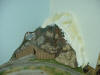 Mt. Dew #2 | 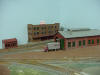 Brown & Haley Distributing |
 freight Distributing | 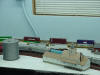 Grain Mill | 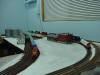 Staged to run |
 First Freight
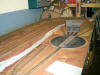
| 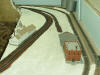 New Track #1
|  New Track #2
|
New Track #3
|  Mt Dew Backdrop
| 
Mt Dew Backdrop primered
|
 SD60 shell and frame | 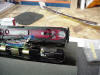 Inside cab | 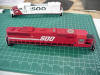 Shell removed |
 Holes drilled in roof | 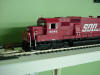 Beacon installed | 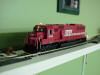 Lights working |
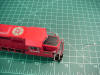
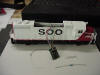
 SOO 4413 GP38-2
|  Chip, LED, Resistor
|  LED and Resistor connected
|
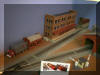
 Trestle #1 |  Trestle #2 |  Trestle #3 |
 Consist #1 |  Consist #2 | 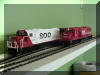 SOO Motive Power |
 From the tracks |  Without Flash |  With Flash |
SOO GP38-2 & SD60 #1
| 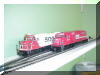
SOO GP38-2 & SD60 #1
| 
SOO GP38-2 & SD60 #1
|
Painting #1
| 
Painting #2
| 
Painting #3
|
Painting #4
| 
Painting #5
| 
Painting #6
|
 Old Grizzly Trestle #1 | 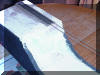 Old Grizzly Trestle #2 | 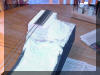 Old Grizzly Trestle #3
|
 Old Grizzly Trestle #4 |  Old Grizzly Trestle #5 |  Old Grizzly Trestle #6
|
 Old Grizzly Trestle #7 |  Old Grizzly Trestle #8 |  Old Grizzly Trestle #9
|
Corner of Freight Yard leg
| 
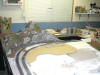
Freight Yard
| 
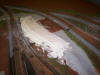
Grizzly Gulch Crossing #1
|
Grizzly Gulch Crossing #2 | 
Grizzly Gulch Crossing #3 | 
Grizzly Gulch crossing #4 |
Fueling Facility #1 | 
Fueling Facility #2 | 
Fueling Facility #3 |
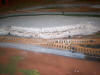
Addition of ground cover #1 | 
Addition of ground cover #2 | 
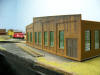
Industrial corner |

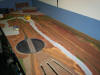
Grizzly Gulch Leadin | 
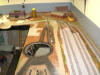
Frame of work area walls #1 | 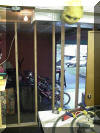
Frame of work are walls #2 |

Layout Walls #1 | 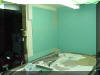
Layout Walls #2 | 
Layout Walls #3 |
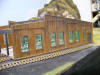
 Brown & Haley Distribution #1 | 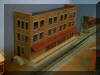 Brown & Haley Distribution #2 | 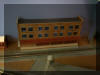 Brown & Haley Distribution #3 |
 Testing Castrol Super Clean |  After a soak |  Paint removed |
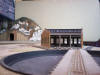
 Entrance to engine facility | 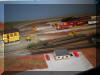 Engine facility office | 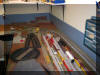 Freight Yard leg #1 |
 Freight Yard Leg # 2 |  Down to Mt Dew | 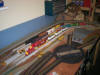 Roundhouse and Turntable |
Rock Island RS-1 |  Tacoma Rail #1 |  Tacoma Rail #2 |
 Tacoma Rail #3 |  Tacoma Rail #4 |  Tacoma Rail #5 |
 Tacoma Rail #4001 |  Tacoma Rail #4001 & 4002 | 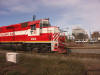 Tacoma Rail #4002 |
 Freight Yard Leg | 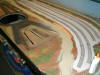 Freight Yard & Service Road | 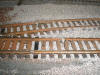 Freight Yard Power Gaps |
 Service Road # 1 |  Service Road # 2 |  Service Road # 3 |
 Interlocking Tower Retaining Wall # 7 |
Interlocking Tower
Retaining Wall # 8 | 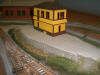
Interlocking Tower Retaining Wall # 9 |
 Interlocking Tower Retaining Wall # 4 | 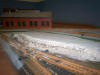 Interlocking Tower Retaining Wall # 5 | 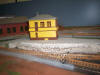 Interlocking Tower Retaining Wall # 6 |
 Freight Yard Retaining Wall # 1
|  Freight Yard Retaining Wall # 2 | 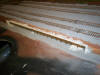 Freight Yard Retaining Wall # 3 |
 Interlocking Tower Retaining Wall # 1
|  Interlocking Tower Retaining Wall # 2
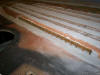
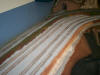
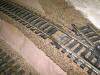
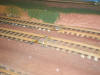
|  Mainline Ballast |
Mt. Dew Curve Ballast # 1 |  Mt Dew Ballast # 2
|  Mt Dew Ballast # 3
|
 Mt Dew Ballast # 4
|  Freight Yard Retaining Wall |  Staging Yard Controls |
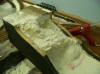
Mt. Dew Frame
|  Mt. Dew Shell
|  Mt. Dew Rocks
|
 Freight Yard Leg #1
|  Freight Yard Leg # 2
|  Roundhouse
|
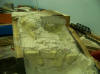
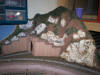
 Strawberry Mountain Shell
| 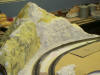 Strawberry Mountain Base
|  Strawberry Mountain Rocks
|
 Town Lower Curve #1
|  Town Lower Curve #3
|  Solder Joint #1
|
 Solder Joint #2 | 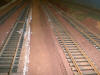 Painted Track #1 | 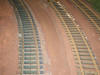 Painted Track #2 |


